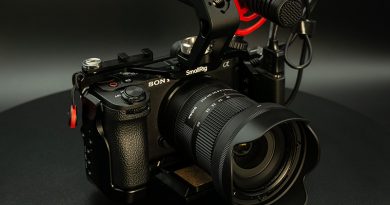
Y2026 video rig build follow up

Just a follow up to my original video rig build post: LINK in which I have described all initial compnents and how did I come to those choices…
Some time has passed and there were new parts of the build incoming and some changes after few tests. Among the new parts:
- video sender / receiver
- v-batt
- dummy battery for camera
- matt box
- couple of new filters
- rotating side handle
- manual follow focus
- rail system
- portable lights
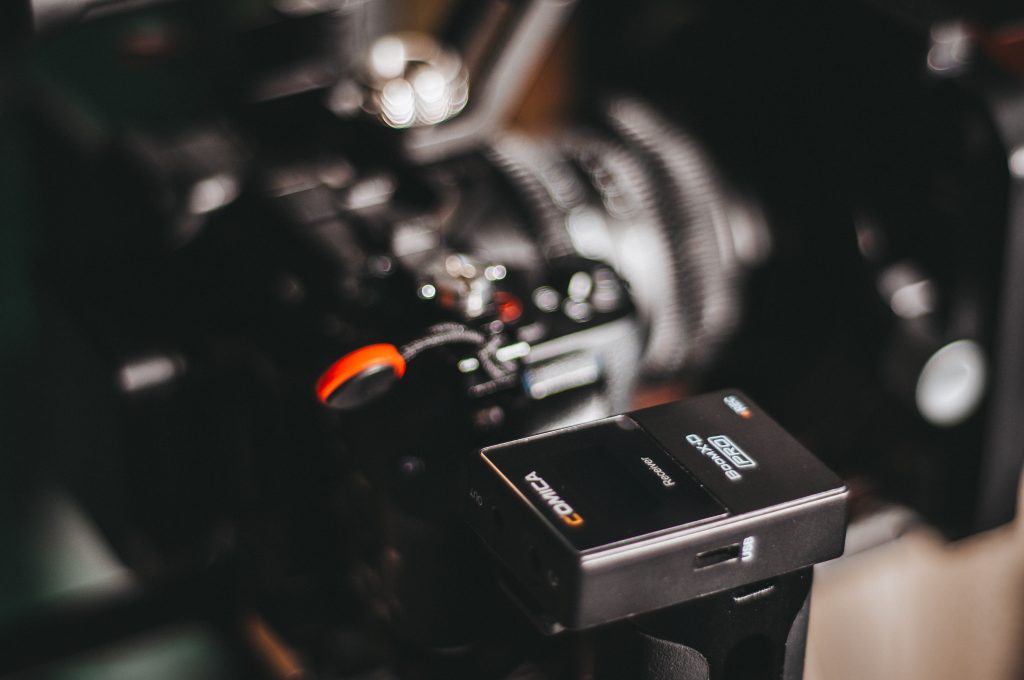
and the changes has been made to the choice of wireless mic system. I’ve added Comica Boom-XD D2 Pro wireless mic system with backup recording function just because I’ve found a great deal at local store.
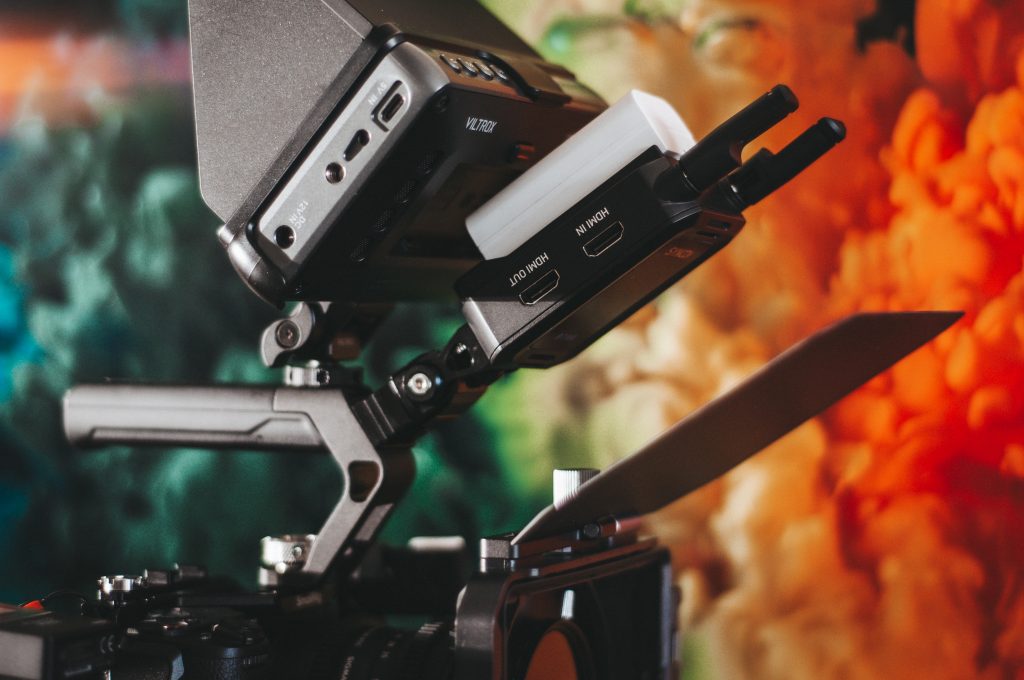
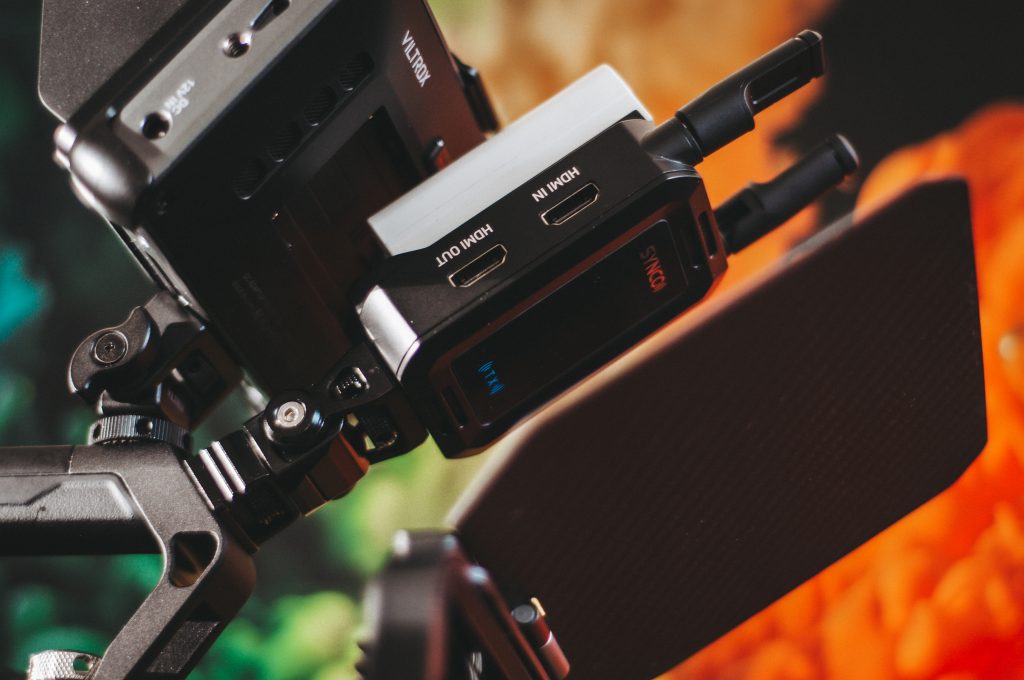
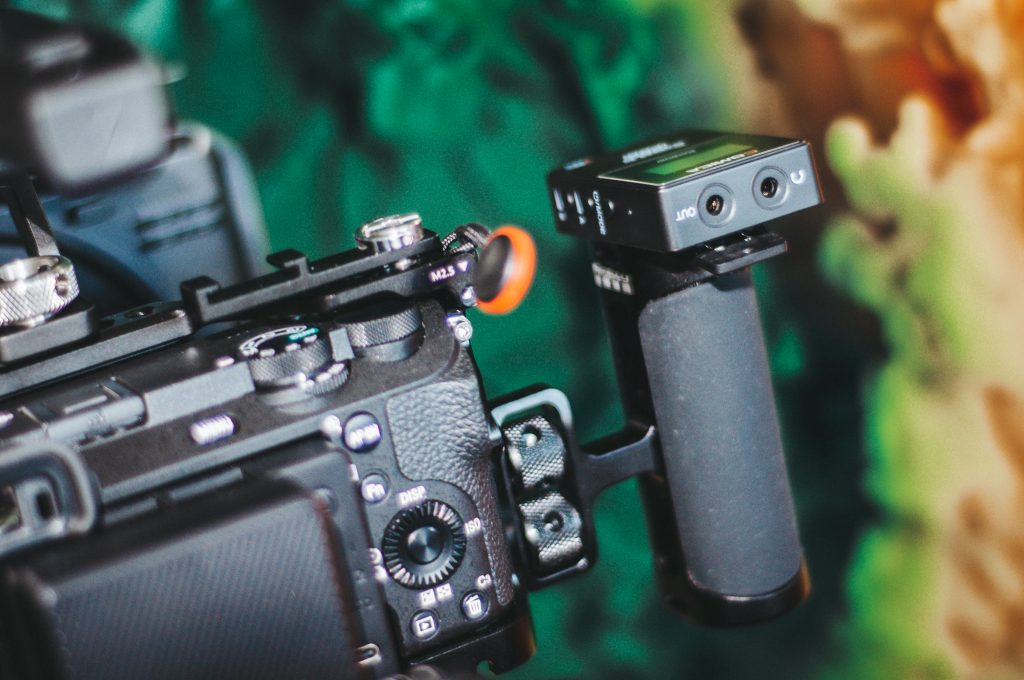
Now, one by one. Video sender / receiver:
Necessary for remote monitoring and / or when camera is fixed at some weird angles / places / height where it is hard to reach it. There are plenty of choices around. I’ve chosen inexpensive Synco brand TX & RX pair that supports 4k or 1080p input and sends 1080p. Quite small, has foldable antennas, ability to work from NP-F batteries or USB type-C input. TX has HDMI loop function to pass the signal to the external monitor and RX has 2 hdmi outputs. Works great, delay is about 40ms which is not distracting.
While testing it, found one peculiar thing about a6700: when you are shooting with PP instead of LOG = hdmi output is fixed to 4k despite HDMI output is set to 1080p. When shooting in LOG mode – HDMI output settings is not fixed and you can choose the output resolution. Not every HDMI sender or monitor would accept 4k signal. So, keep in mind if you are shooting with PP and Viltrox DC-550 monitor – it accepts 4k but does not loop it from HDMI input to HDMI output to feed the stream upward to video sender. Workaround is to either shoot in LOG and set HDMI output to 1080p or shoot PP with 4k output and feed the video sender with this stream first and than let it loop the signal to the monitor. This way works.
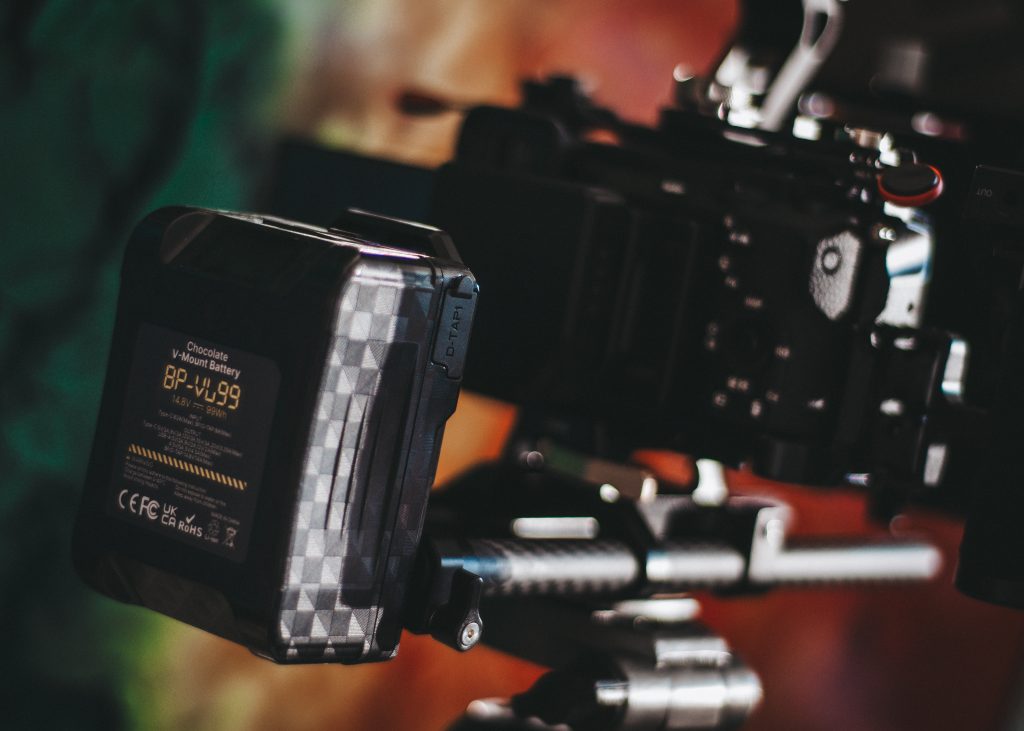
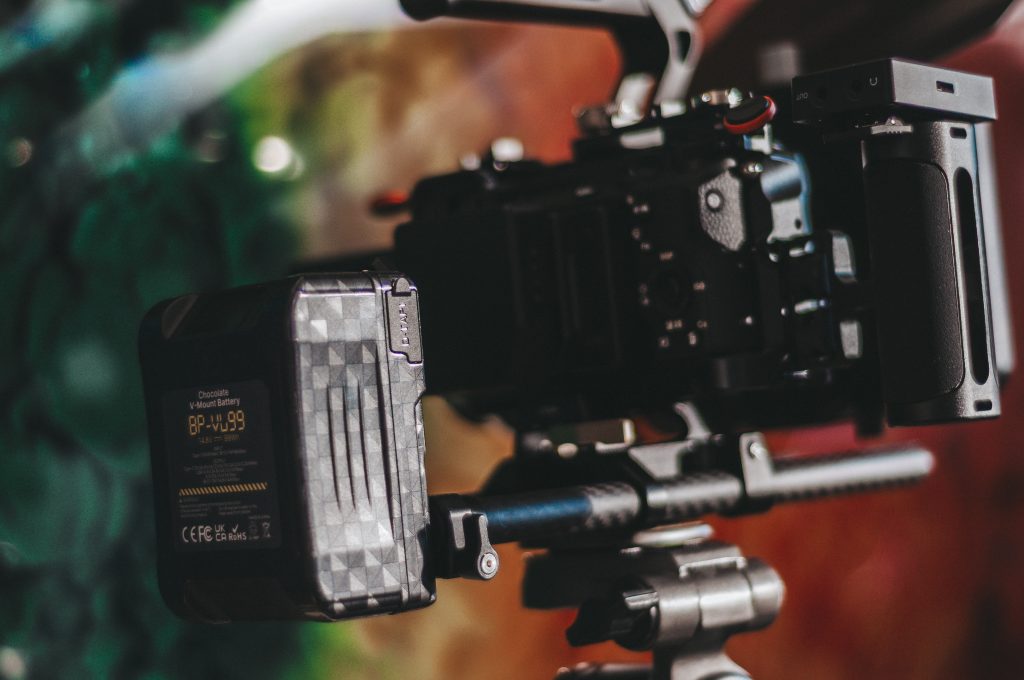
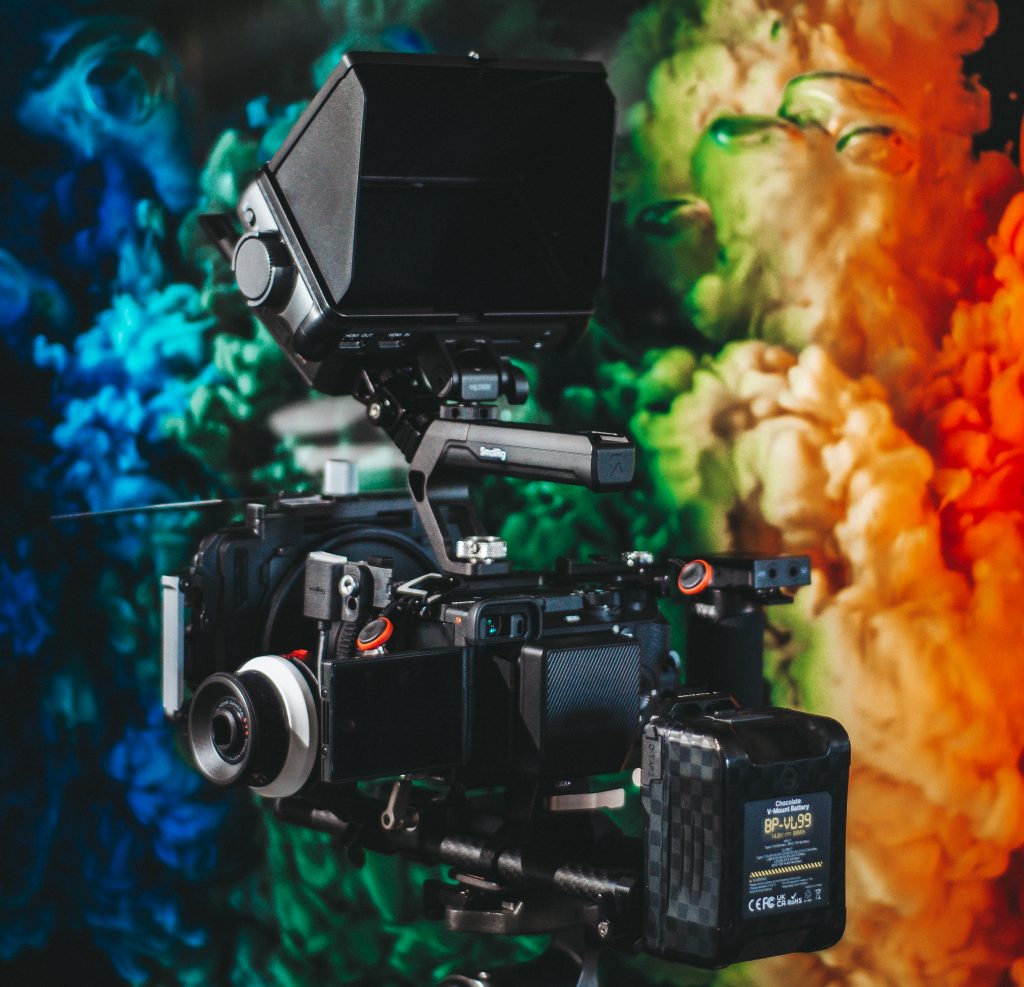
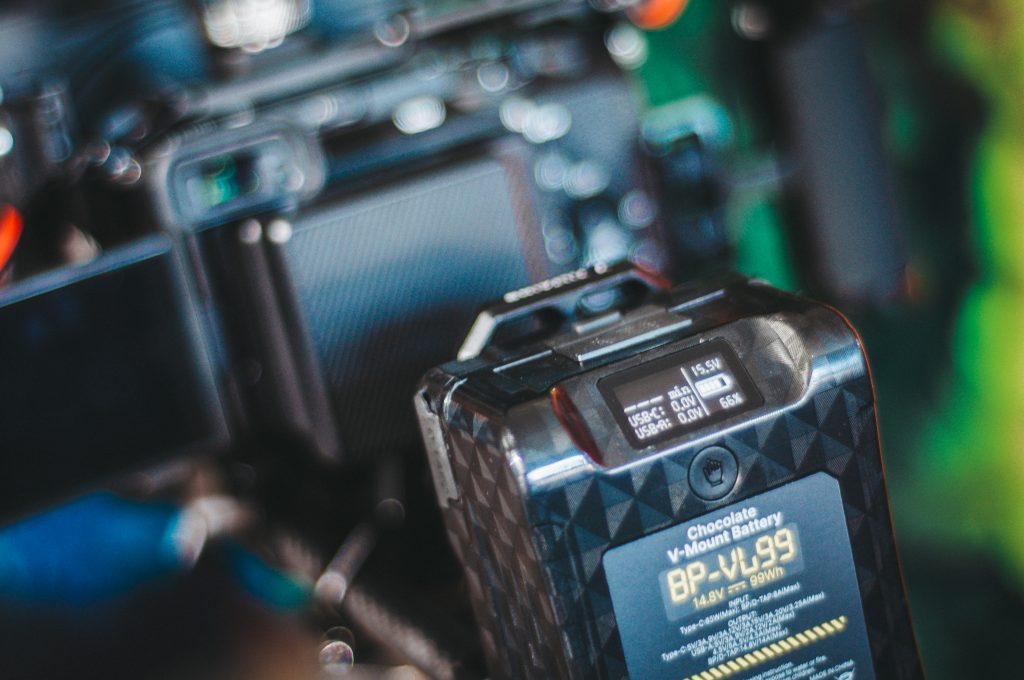
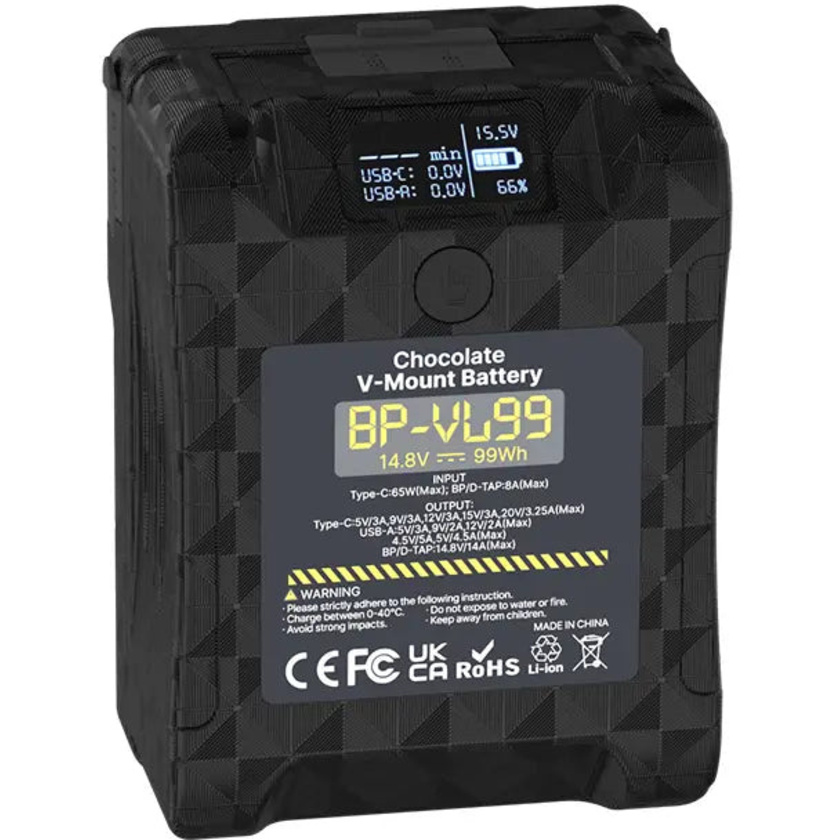
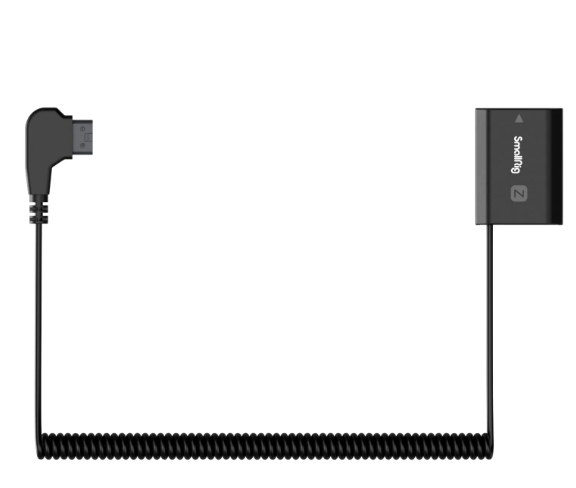
V-batt and dummy battery:
Purchased Ulanzi BP-VL99 v-mount battery to power all rig components from it. Camera (by smallrig d-tap to dummy battery adapter with step-down regulator), monitor with d-tap to 5,5mm barrel adapter, video sender with USB A to type-C cable, camera cooler with type-c to type-c cable. This battery has 1 X type-C, 1 X USB A, 2 x D-tap outputs. The convenient part is that one battery can supply voltage for a long period of time to all of the components and even shows how much time it would last. With this setup and this battery it is about 6H of continuous use.
The bad part is the arguments about using 1 power source for all of the components and chance of frying camera or other equipment with the ground loop. Some words about that: there are existing cases when people fried their camera boards / hdmi controllers when used with v-batt single source to all of the equipment.
- How: there is a chance of closing ground loop (passing the current) through HDMI cables instead of power cables.
- Why: because not only power cables interconnect all equipment, but HDMI cables as well, which have common ground with the rest of the board electronics and the current might flow through it instead of power cables.
- How to avoid: by stricktly following connection/disconnection procedure: connect all power cables first with all equipment turned off, than connect HDMI cables, than power all equipment on. When truning off: turn all power down, disconnect hdmi cables first, than disconnect power cables.
- Other possible causes: connecting dummy batteries or adapters to v-batt firsts and than trying to insert dummy batteries / power connectors to the equipment. This might cause uneven current delivery to positive / negative terminals and send all power though other interconnection cables. Or, using low-quality d-tap to camera dummy batteries that would not regulate raw battery voltage (16-20V) and supply it directly to camera that needs lower voltage.
Yep, sounds risky. But remember that lots of camera operators used this power method for years and haven’t had any problems. Follow the procedure and logics to protect your equipment.
There are also some people that insist on using type-C charging with power delivery while shooting for a long time and if the camera has this option… I would object, since this also generates even more heat inside the camera and type-c can also fry camera mainboard if there is a problem with power supply or camera type-c circuit.
Another option is to use type-c dummy battery (step up regulation): I would warn you not to use such options by cheap brands, especially designed to work with external wall power adapters. Such adapters can cause voltage spikes and cheap type-c circuitry would still fry your camera.
The best option, seems to be to use type-c dummy battery by respected brand fed from v-mount battery or power bank with no possible voltage spikes.
In either case, you still rely on circuitry, voltage regulation, etc. If you don’t want to risk anything – use different genuine batteries for every component. But this is not convenient, heavy and unreliable in terms of shooting time.
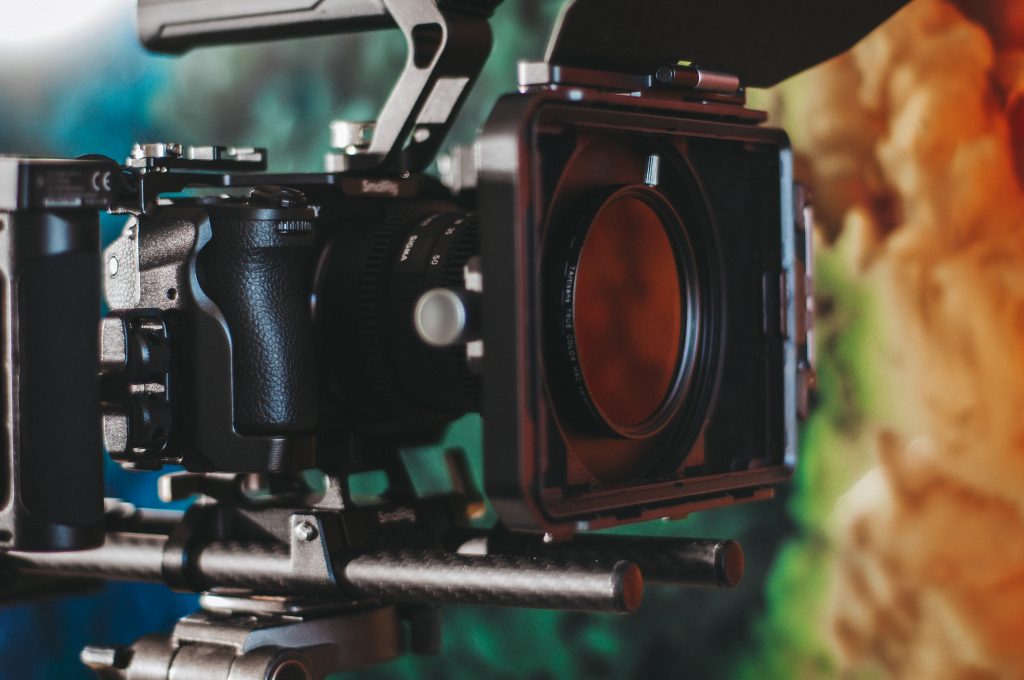
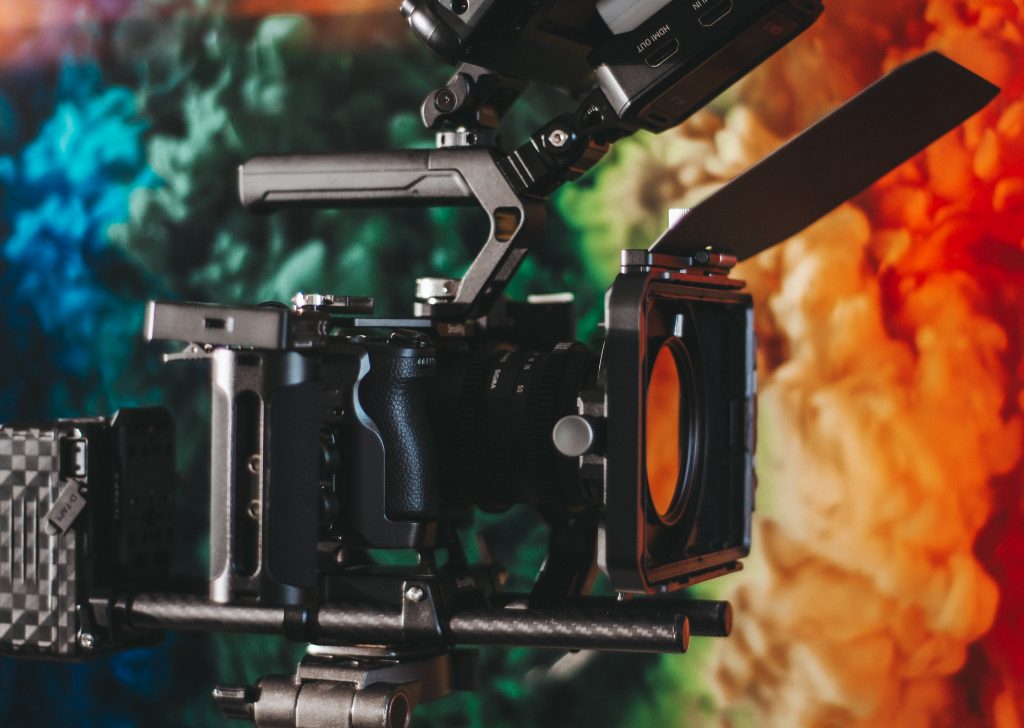
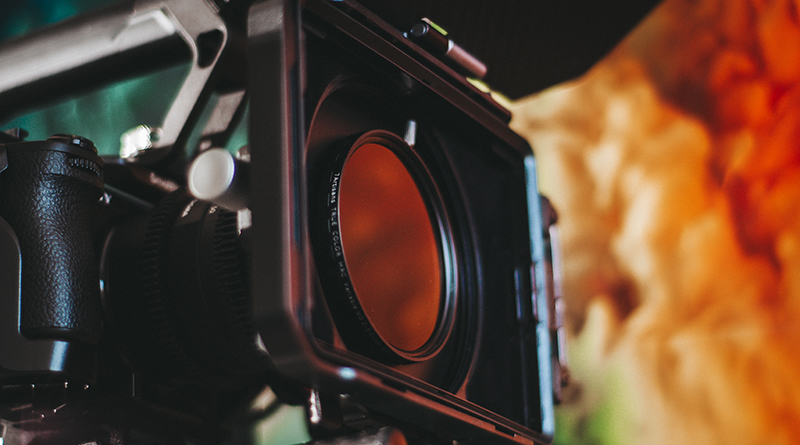
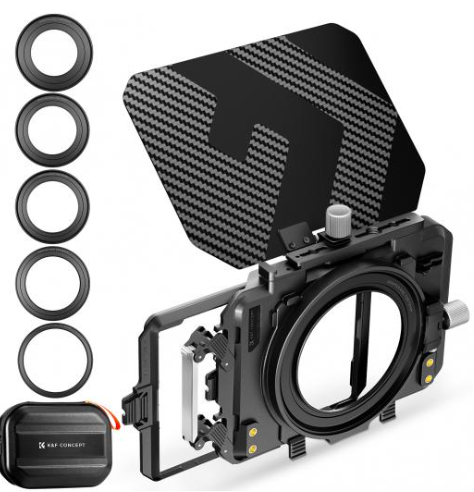
Matt box:
I didn’t consider this option first – it seemed bulky and incompatible with round lens filters. I was trying to find some universal lens hood but failed. After digging to matt boxes deeper, I’ve ended up buying K&F Concept Matte Box (Nano-Xcel) that accepts rectangular and regular round filters, comes with 4 adapter rings to fit different lenses. I am using it with my lenses + step up ring to 67mm (my lenses are 52 and 55mm) and matt box on top. It allows regular round 67mm filters and works fine with both CPLs and NDs.
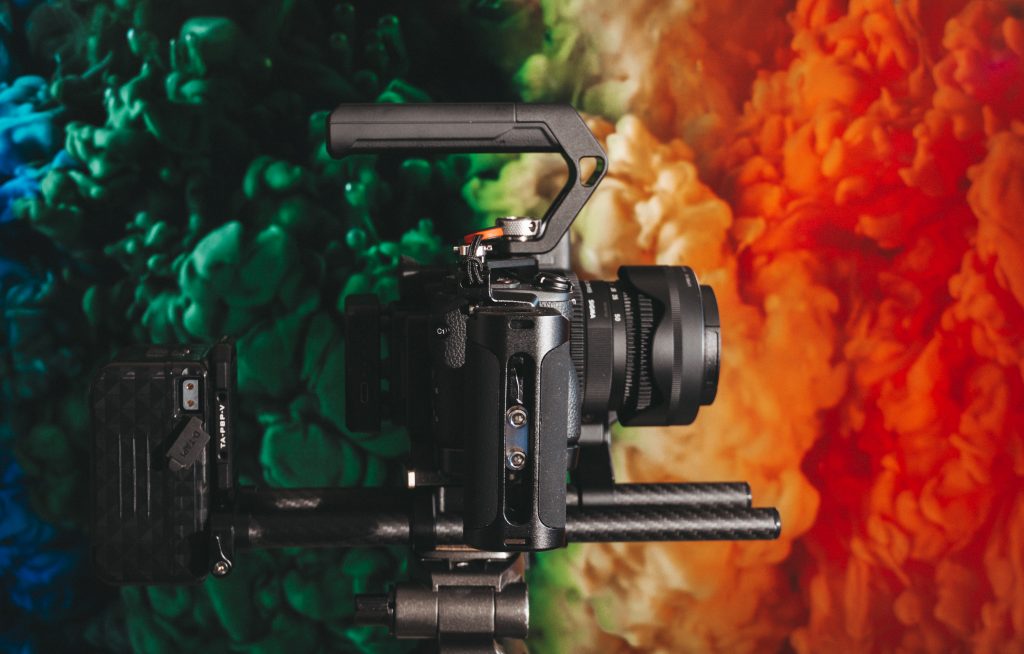
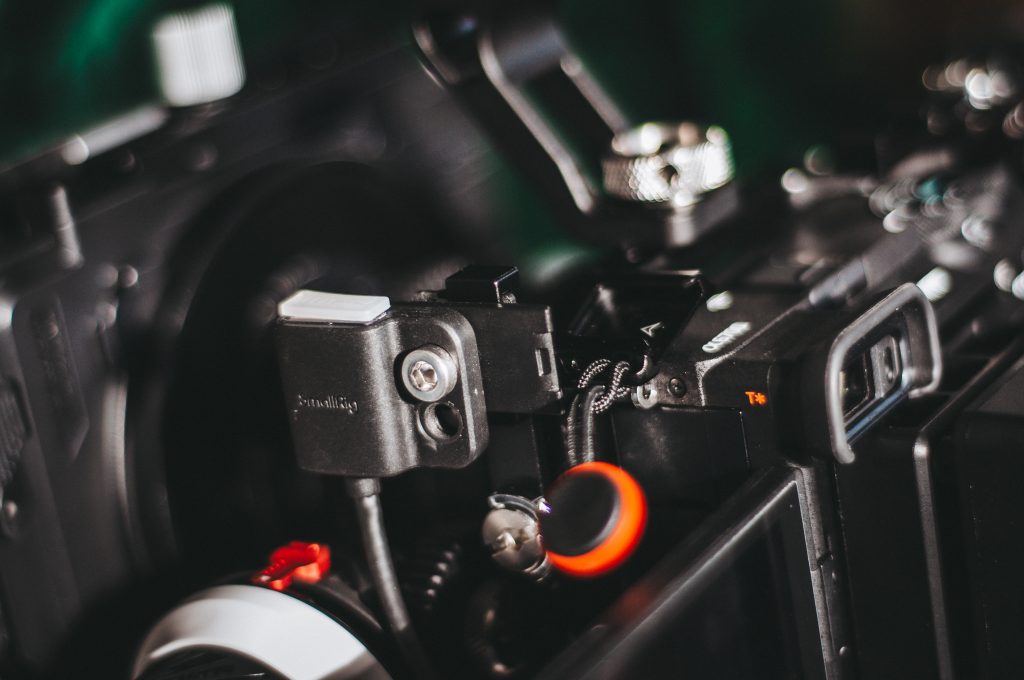
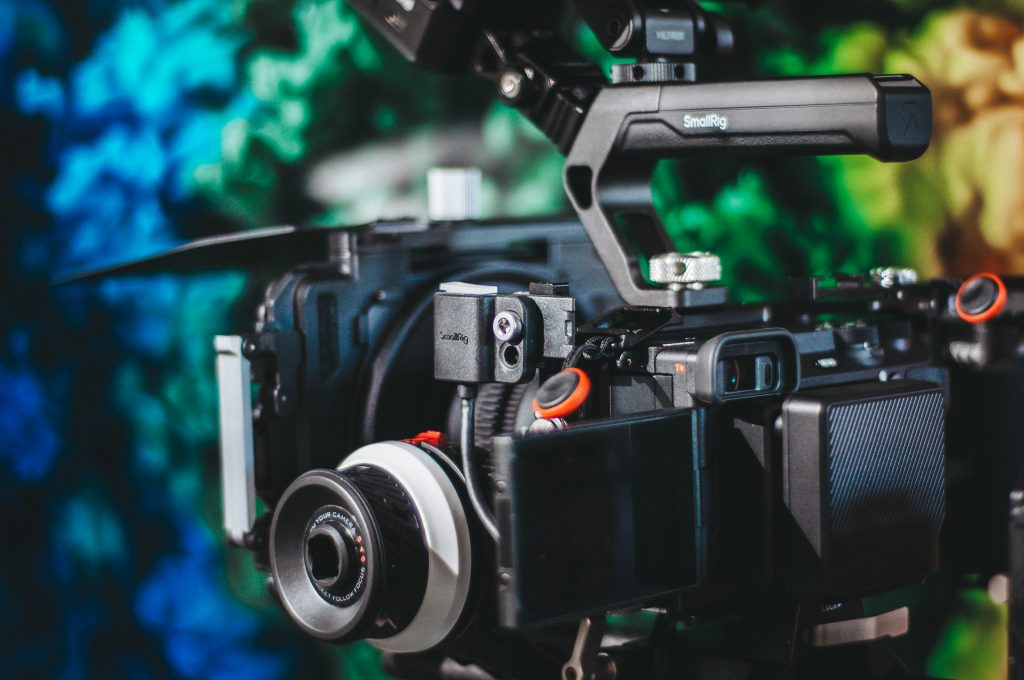
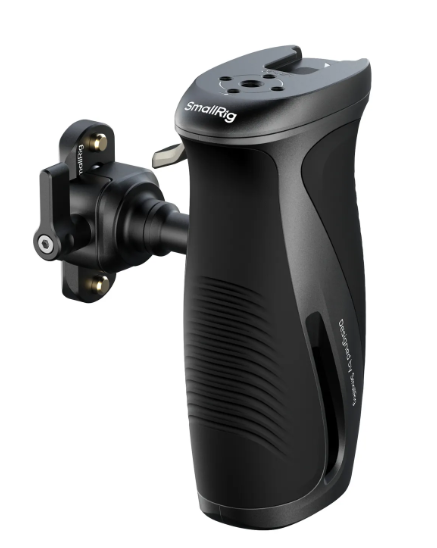
Rotating side handle:
Having all rig assembled and operating follow focus with the right or left hand requires some solution to hold this setup conveniently and securely. I’ve tried non-rotating smallrig handle and it puts a lot of strain on my wrist at low camera angles. Therefore, I bought universal left/right hand handle that can release this strain by adjusting its angle by a single press of a button. This now allows me to hold the setup with right or left hand and operate follow focus, zoom or filters with another hand.
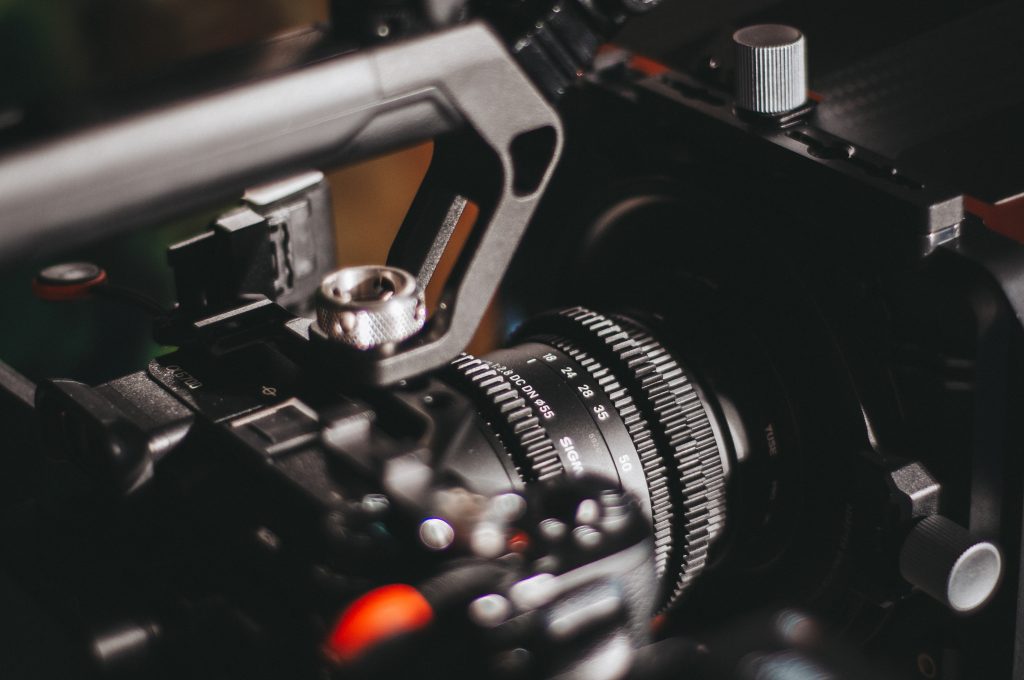
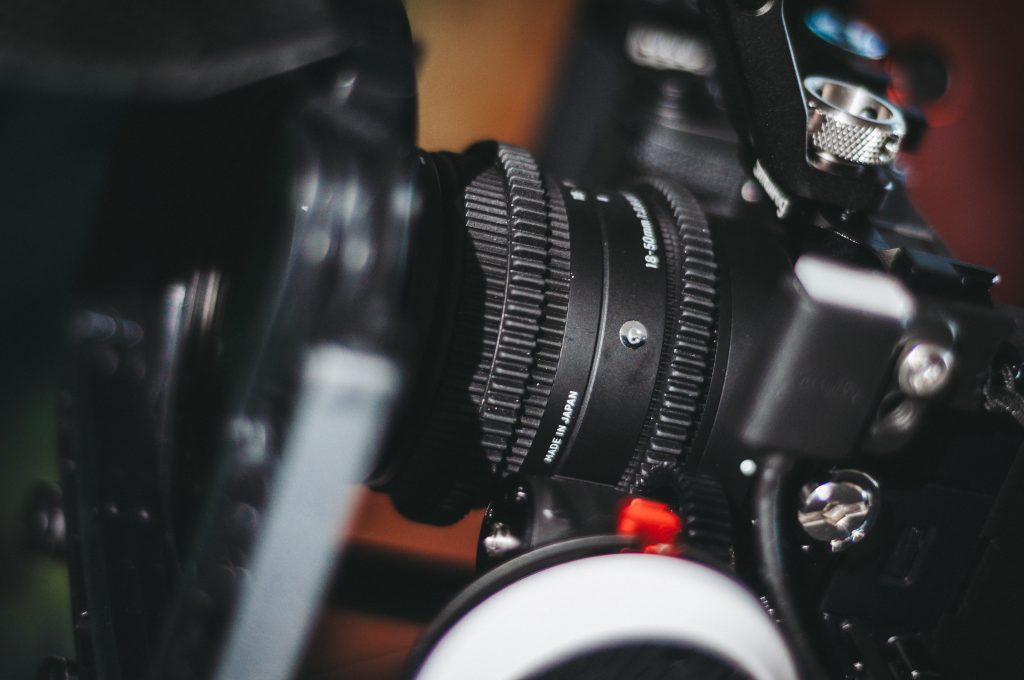
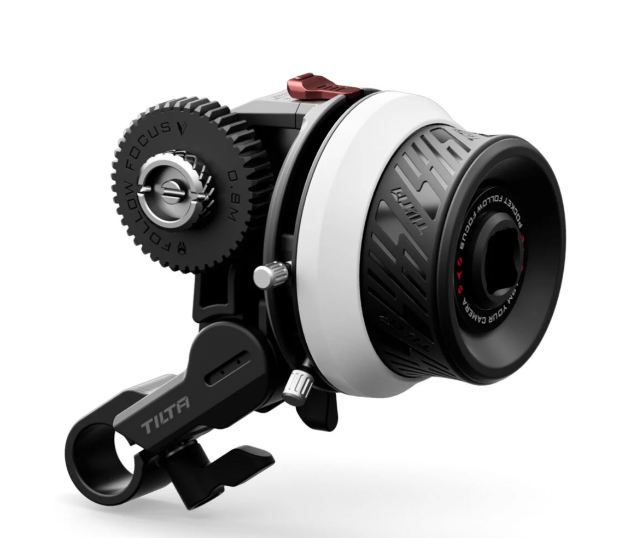
Manual follow focus + rods:
It is good to have such a rileable autofocus in Sony cameras… But it is useless with manual lenses and for some creative shots where you want focus to follow some special pattern. Plus, manual follow focus can also be used to control zoom. I’ve received Tilta follow focus along with the 15mm rods and rod holder. Tilta FF has physical stops to limit the range of rotation for some lenses or to do quick A to B point focus shifts. But when you want no limits – those stops hang at the bottom and make noises…. Therefore, I’ve removed those completely.
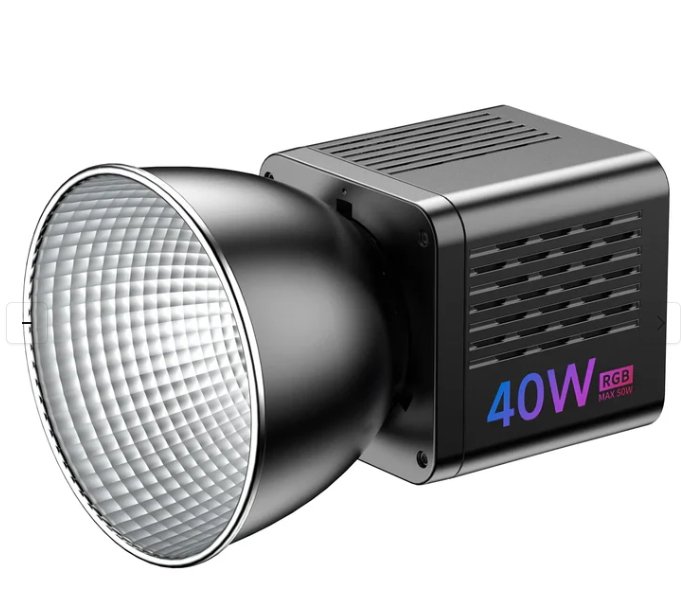
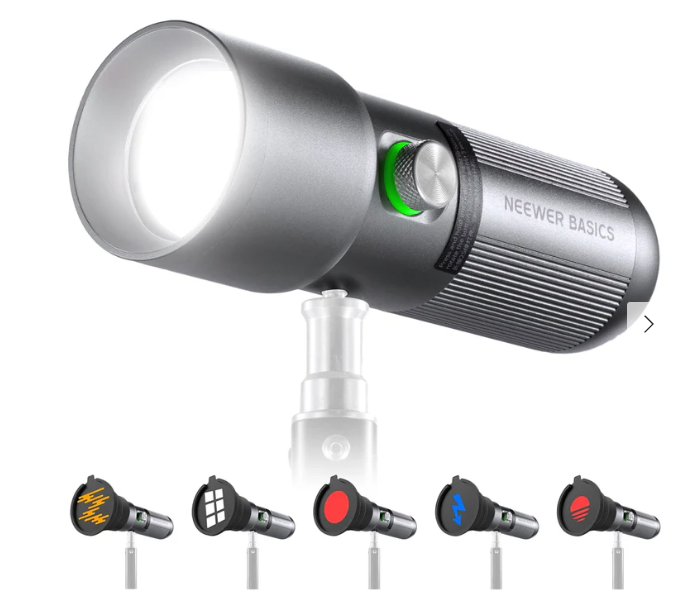
Portable lights:
Since I am doing a lot of object photography / videos, I bought 2 light sources: Ulanzi L024 40W RGB Video Light 2500-6500K which operates either on built-in batt or from the external power adapter (+ 40cm softbox) and Neewer FL10 video light that can also operate on built-in batt or from type-C power. These lights are perfectly enough to light up object or talking head subject indoors. Planning to get another 150-200W Ulanzi constant LED light to make my setup more versatile, to use it outdoors or to light up larger spaces.
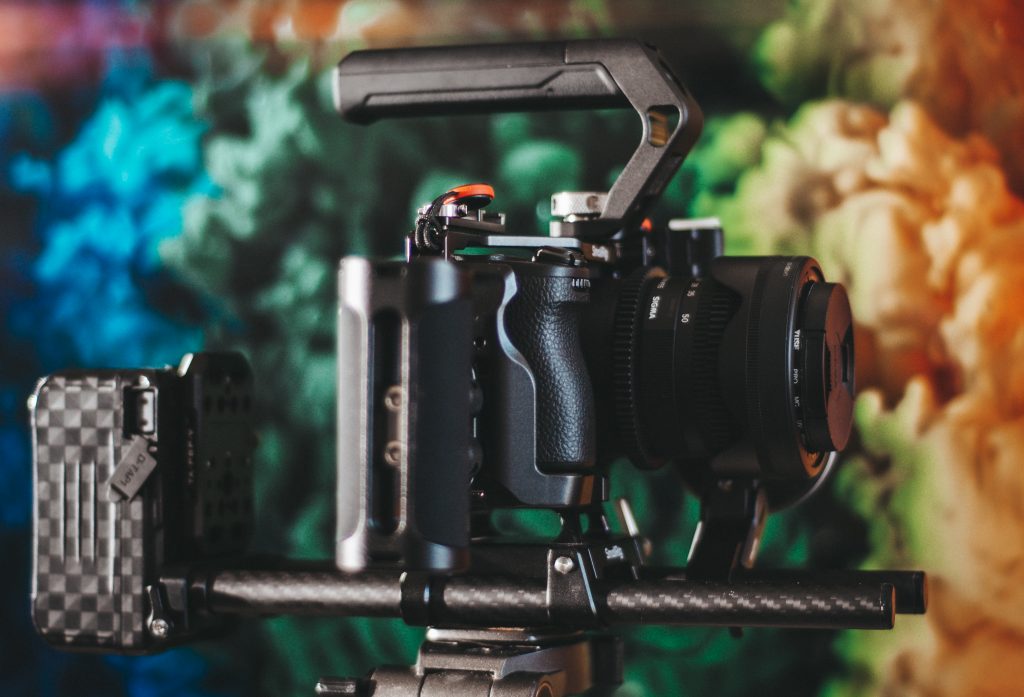
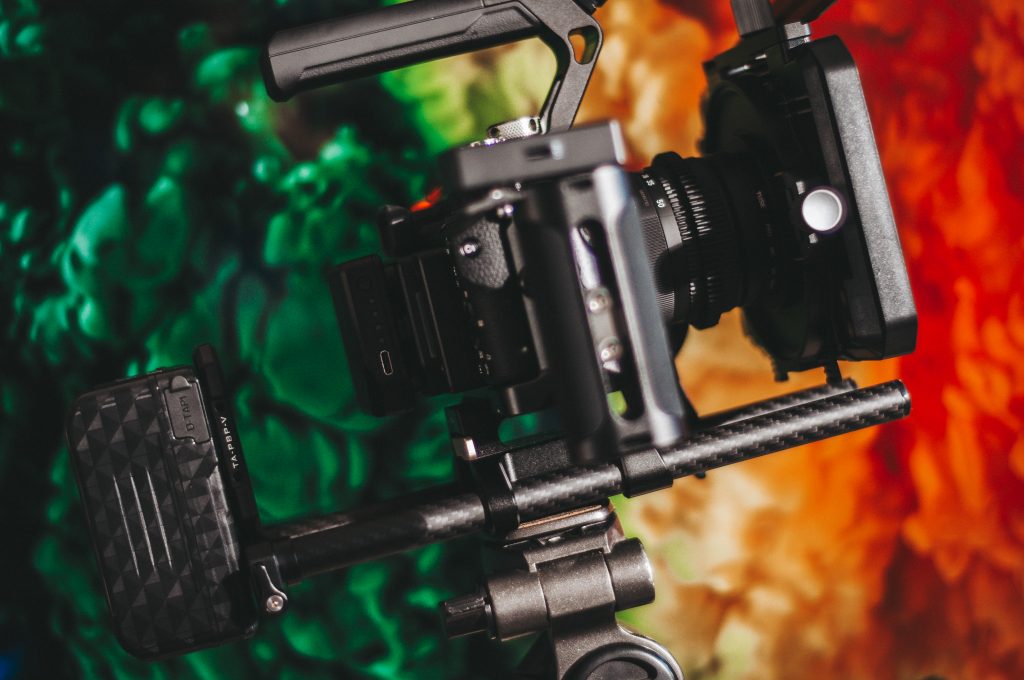
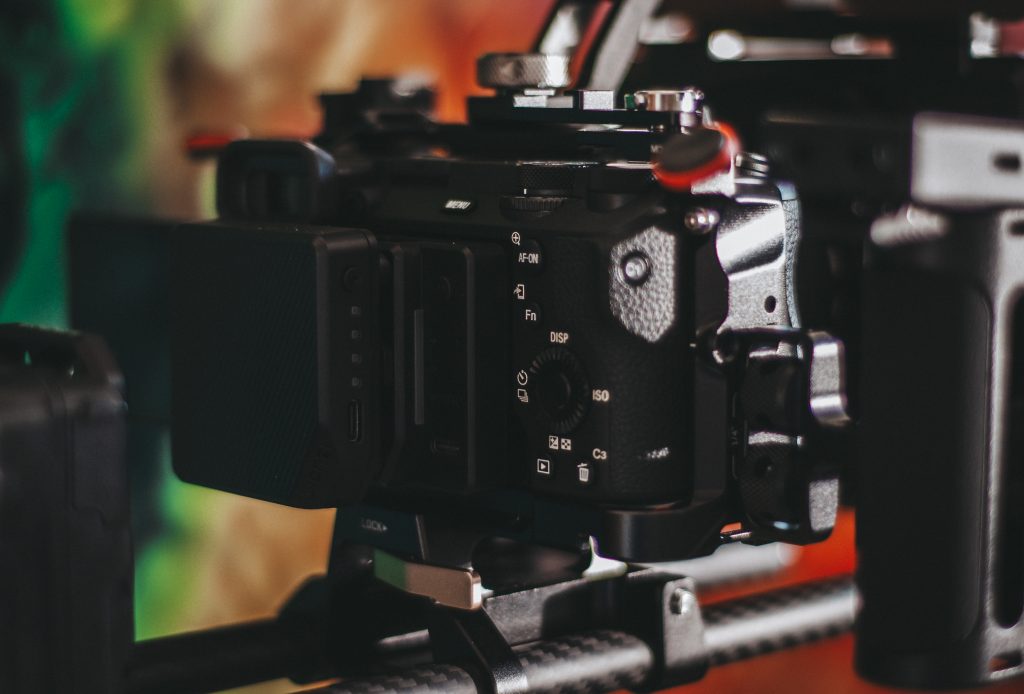
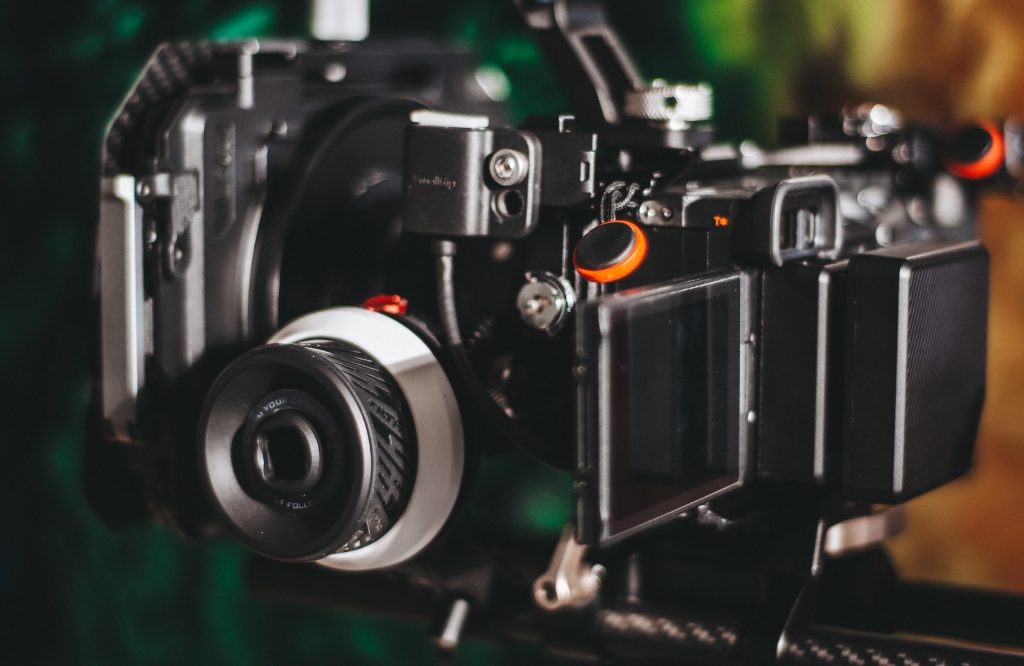
That is how it goes for now. Updates would follow. But I think that the setup is 99% ready for some shots.
More pics of my setup: