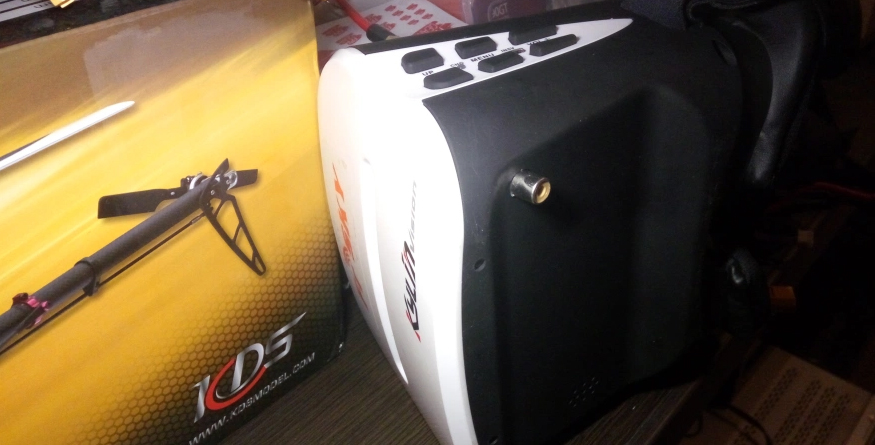
KDS Kylin Vision — adding video out and 3S LiPO power supply
I love my KDS Kylin Vision FPV goggles. One year passed since the time I’ve started using them and they are working great to this point. Bright and large picture, good reception quality, autoscan feature and light weight — perfect for me.
At the same time, what I’ve always lacked is the video output feature and longer battery life. I wanted to be able to record video to external recorder with the same quality of reception I have in the goggles instead of using separate video receiver + battery. And I wanted to be sure that 1 battery for goggles would last at least full flight day. Finally, I have succeeded in both quests. I’d tell you how:
Adding Video OUT possibility:
This mod would require:
- 1 RCA (female) connector (or any other connector you like)
- 10-20cm of thin cable (2 pieces)
- Ф8mm drill
- hot glue gun
- soldering stuff
- 1.5mm hex screwdriver
- crosshead screwdriver
First, we would have to disassemble our goggles. There are 10 screws in total to open the case.
- 4 screws holding front monitor part (2 at the top and 2 at the bottom). After unscrewing it — you can gently remove front part with the monitor. Be very careful because monitor is attached to mainboard with the thin and wide tail that cab easily be broken.
- 2 screws holding top and bottom parts of the shell toghether
- 4 screws at the back, under the soft face pouch
After unscrewing everything, you can open the shell — just pull the top part gently while holding the bottom part — the shell should come loose and open. Be careful on this step as well as there is antenna cable that still holds 2 parts of the shell together. It is long enough to open the shell and fold top part to the left.
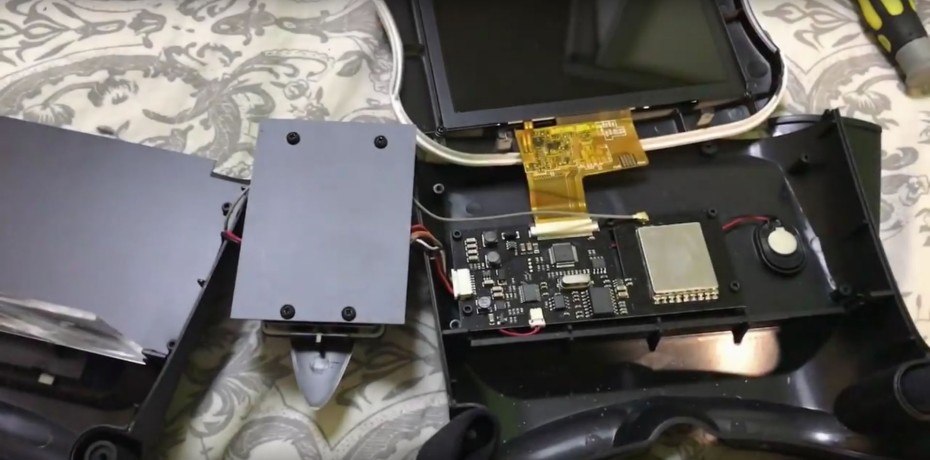
photo source: Anton Chukin YouTube channel
Now, when the shell is opened, you would see black plastic cover on the bottom part of the shell that cover the mainboard. Unscrew 4 screws there to remove it.
It would be better to remove left cable connector that comes from control buttons board to the mainboard and to remove monitor tail (push forward left and right plastic clips of monitor tail connector on the main board and gently remove the tail from the connector). As well as antenna clip (just pull it off gently).
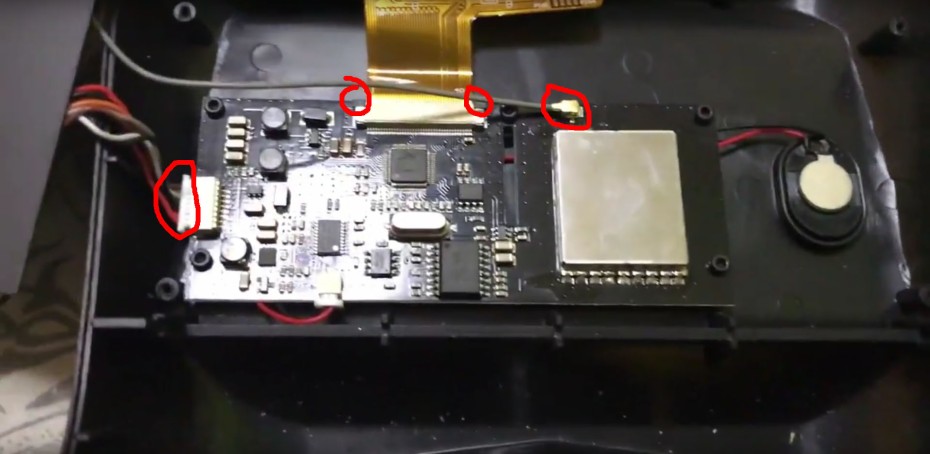
photo source: Anton Chukin YouTube channel
So, now you’ve ended up with the bottom part with the mainboard that is disconnected from all other parts. Good.
Note: you can keep everything connected but be very careful when drilling the shell.
Now, you have to decide where your RCA female jack would be placed. I’ve placed it on the top left side near the plastic standoff that holds plastic cover over the mainboard. Why? Because the space is tall enough to enclose RCA jack and I prefer my cable on the left. But you can choose any other place.
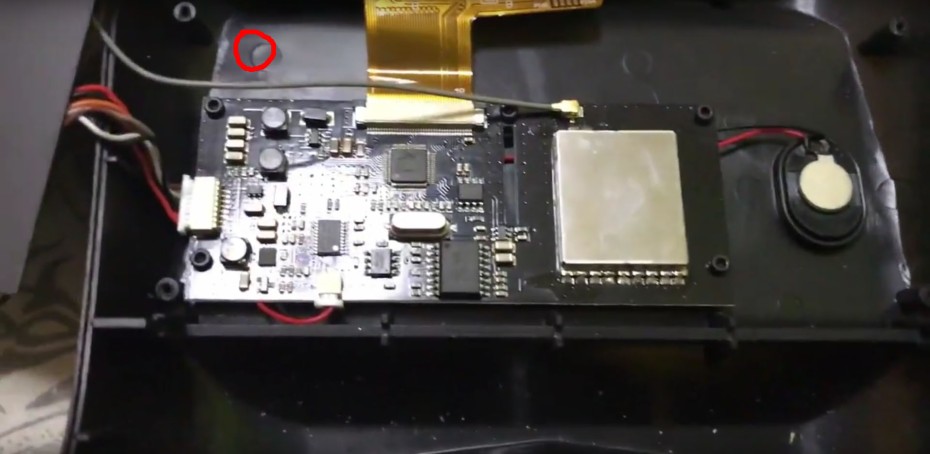
photo source: Anton Chukin YouTube channel
Drill 8mm hole (for RCA female) at the desired place. RCA female would fit tightly into this hole.
Prepare 2 cables with the right length that would be enough to go from RCA jack place all the way to the bottom right of receiver on the mainboard.
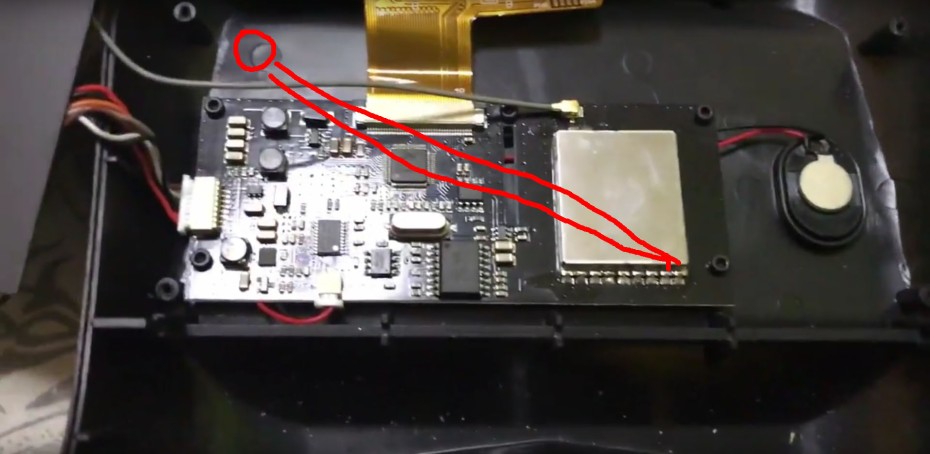
photo source: Anton Chukin YouTube channel
The pinout of the receiver is the following:

So, we need only 2 right contacts — Video and GND. Solder your cables from RCA jack to those contacts. Video to Video and GND to GND (on RCA jack Video is center pin and GND is on the side).
Now, just put RCA into the driller hole, hot glue it in place and you are done. Connect all the wires back together, place plastic cover over the top of the mainboard and assebmle the shell back in the reverse order.
You should get something like this:

Now, you have can connect your recorder to this jack and record flight videos.
Second mod to supply 4.2V power from 3S LiPO is easy:
You should have:
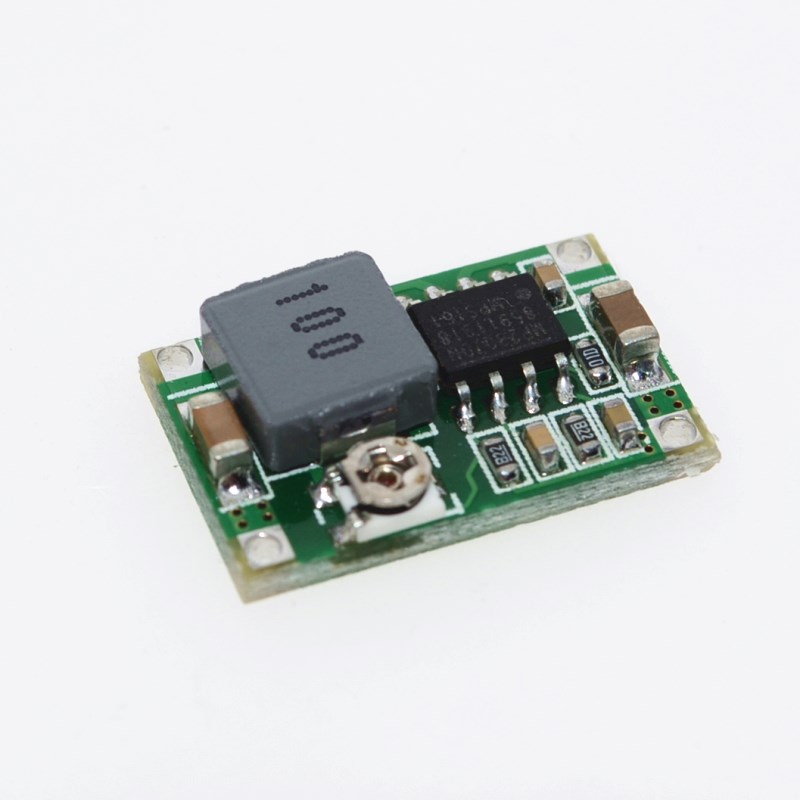
- DC-DC step down voltage regulator
- 3S LiPO
- JST female plug and some wires
- XT60 (or whatever you have on your 3S LiPO) male connector
- soldering stuff
- voltmeter
Solder JST female plug to OUT + and — of the DC-DC regulator
Solder XT60 to IN + and — of the DC-DC regulator
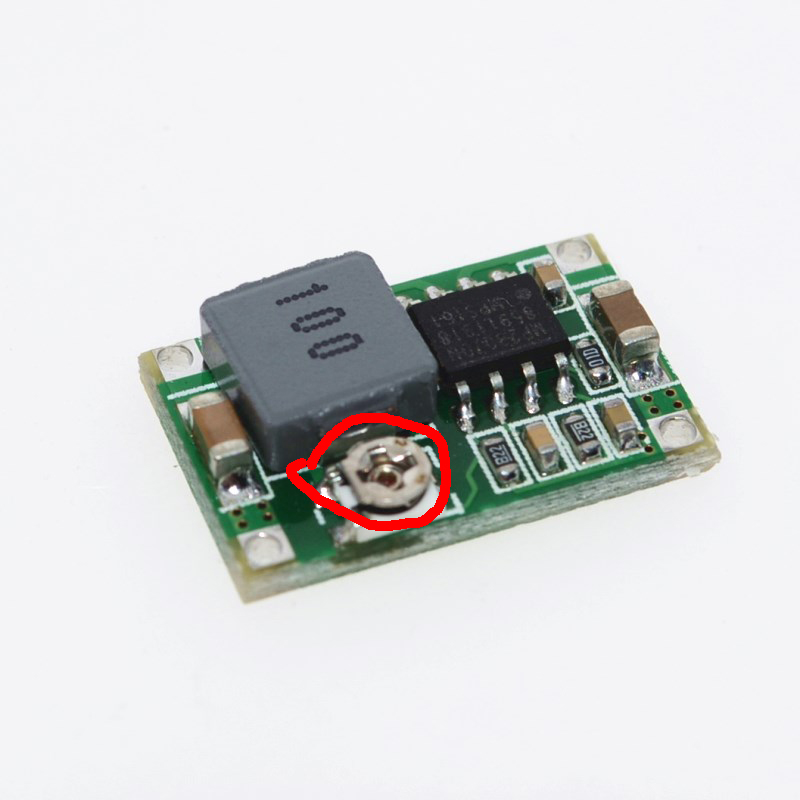
Connect your battery to DC-DC and voltmeter to OUT + and — of DC-DC. While rotating variable resistor on the DC-DC regulator make sure to get close to 4.2V output from it.
Connect JST female to our goggles. You can also cut off any corner of the battery bay cover to let the cables from DC-DC to pass from the bay to the external battery.
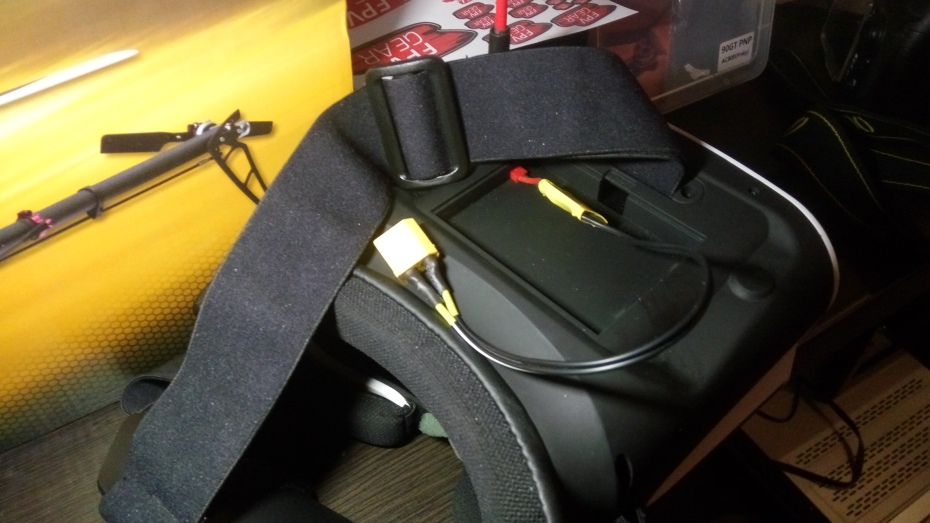
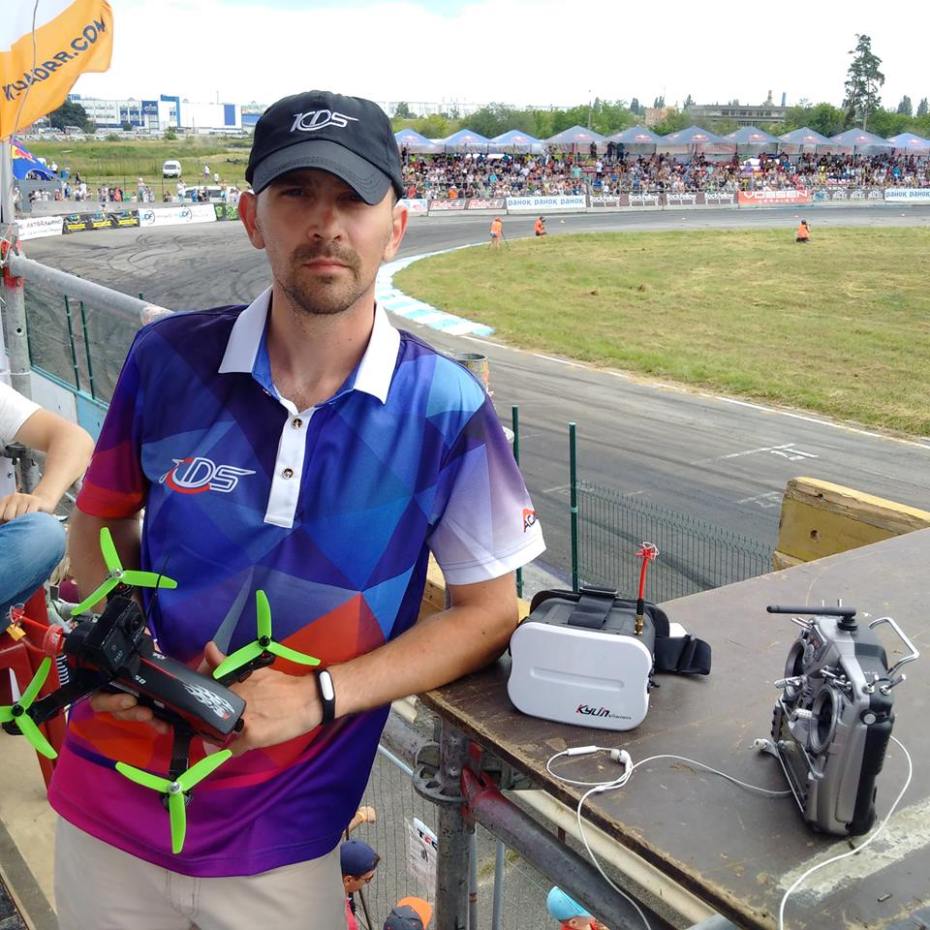
Using some battery strap — attach the battery to your headstrap of the goggles and connect it to DC-DC. That’s it. I am using 3S LiPO 2200mAh old battery and it lasts more than 6 hours of continuous use.
Stay tuned, more reviews to come!!!